Show Raster Image on the Map with OpenLayers
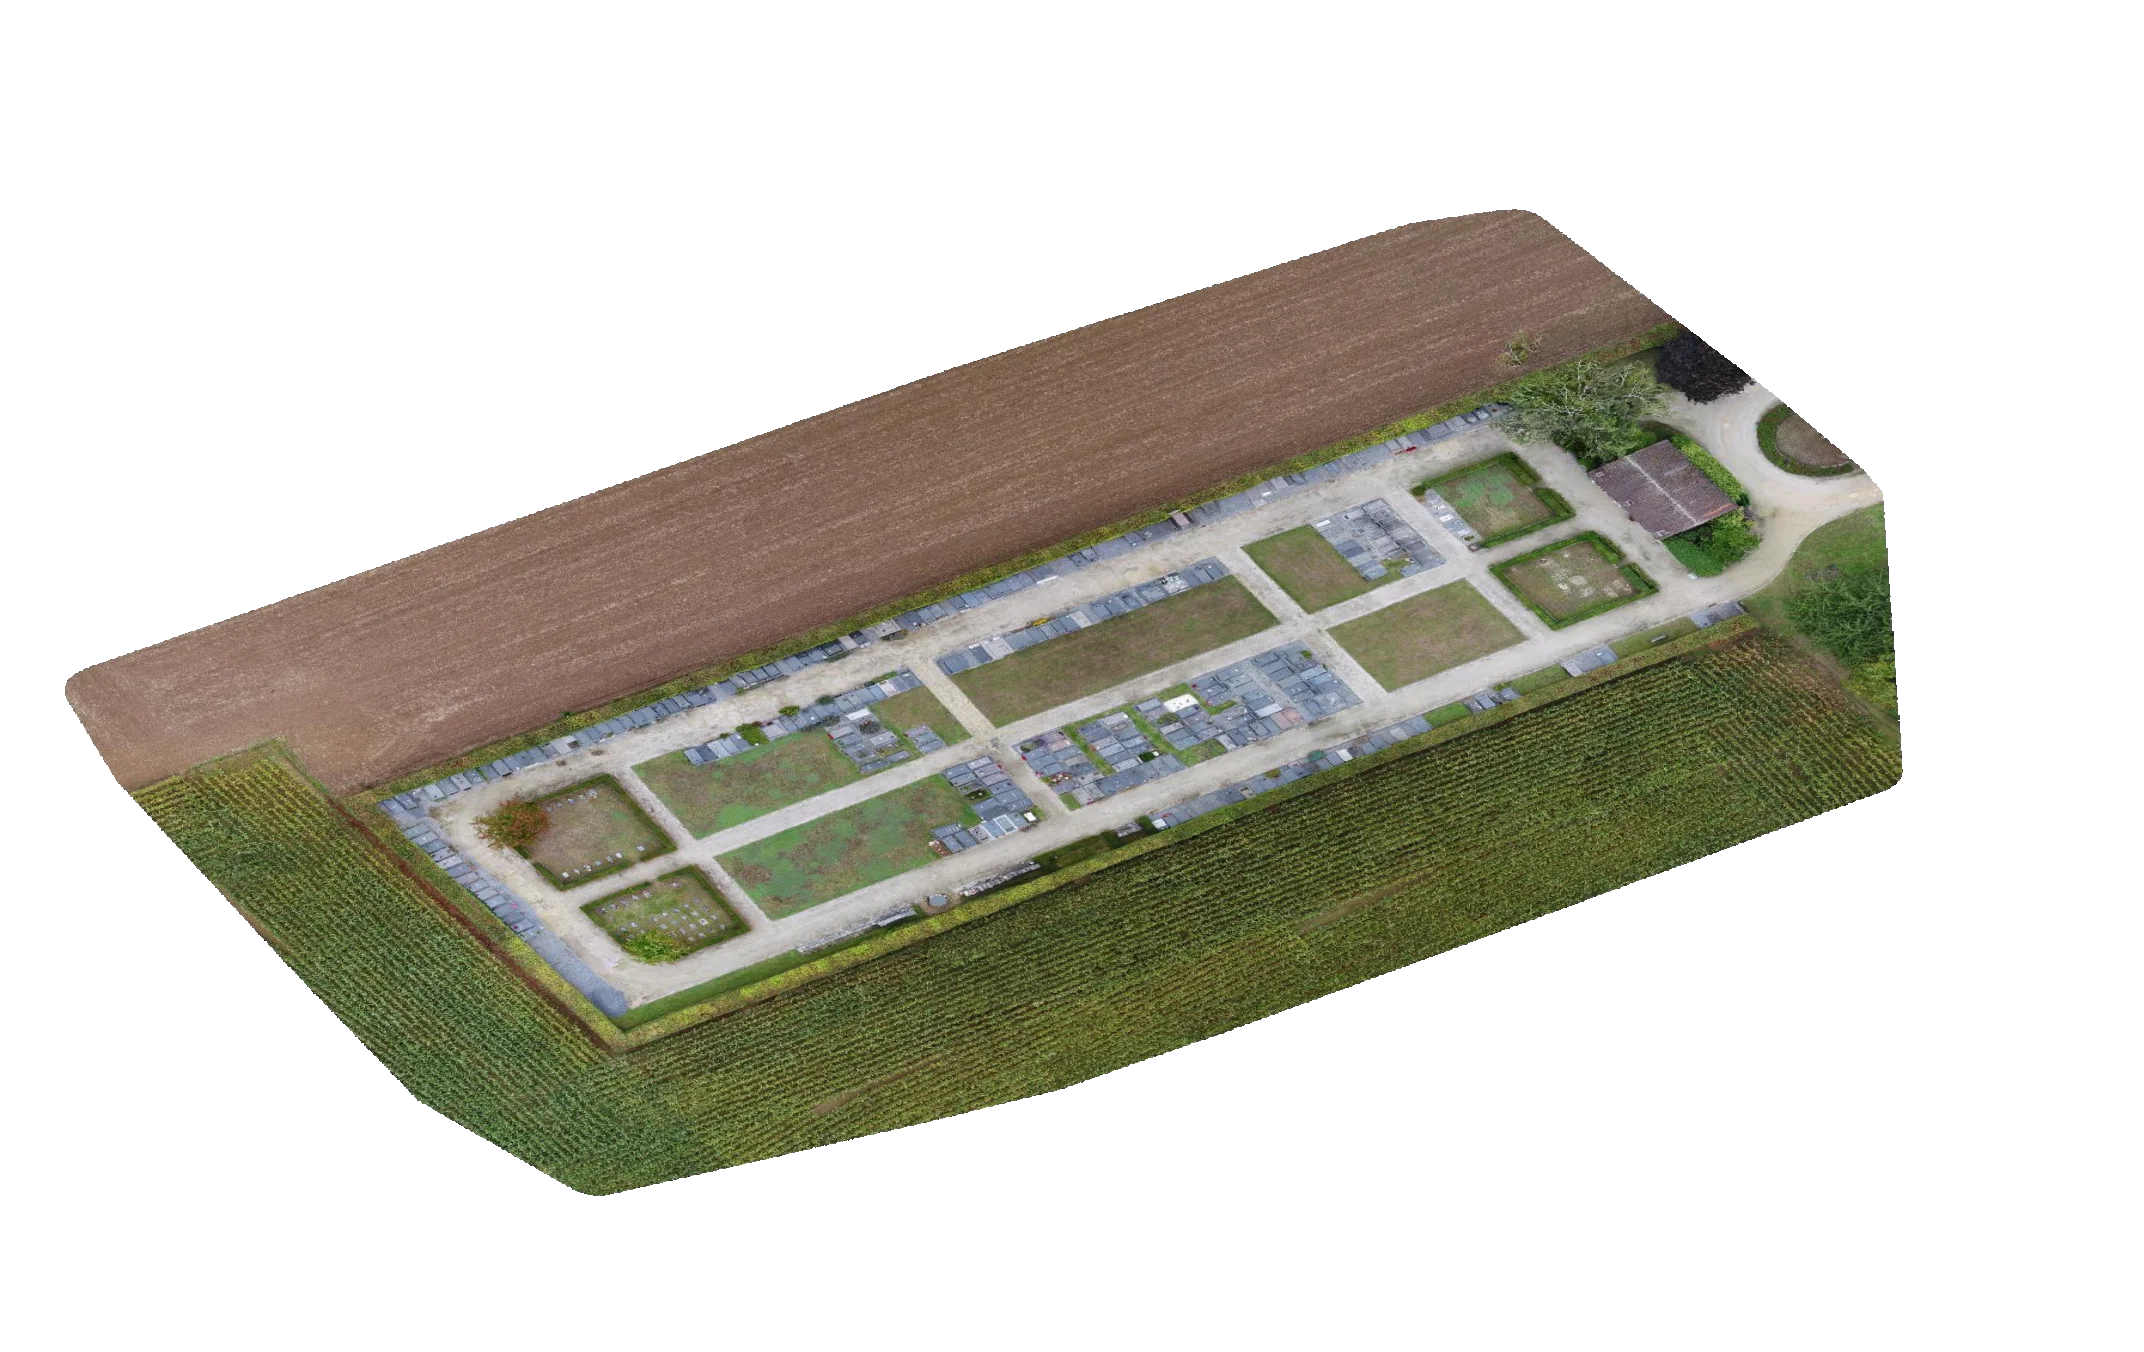
This OpenLayers tutorial demonstrates how to add a raster image overlay to a map. You will learn how to load and display a single image on specific map areas
-
Copy the following code, paste it into your favorite text editor, and save it as a
.htmlfile.
Check out the step-by-step tutorial How to use OpenLayers
-
Replace
YOUR_MAPTILER_API_KEY_HEREwith your own API key. Make sure to secure the key before you publish it. -
The next is up to you. You can center your map wherever you desire (modifying the
starting position) and set an appropriate zoom level (modifying thestarting zoom) to match your users’ needs. Additionally, you can change the map’s look (by updating thesource URL); choose from a range of visually appealing map styles from our extensive MapTiler standard maps, or create your own to truly differentiate your application.
-
Create a static image layer using the ImageStatic source. Set the image imageExtent Lng/Lat bounds. Here you can get the example image aerial_wgs84.png
 const layer = new ol.layer.Image({
 source: new ol.source.ImageStatic({
     url: './aerial_wgs84.png',
     projection: 'EPSG:4326',
     imageExtent: [4.639663696289062, 50.89935199434383, 4.642066955566406, 50.900867668253724],
 }),
 })
 map.addLayer(layer);
<!DOCTYPE html>
<html>

<head>
  <meta charset="UTF-8">
  <meta name="viewport" content="width=device-width, initial-scale=1.0">
  <title>Display a raster image</title>
  <link rel="stylesheet" href="https://cdn.jsdelivr.net/npm/ol@v10.1.0/ol.css">
  <script src="https://cdn.jsdelivr.net/npm/ol@v10.1.0/dist/ol.js"></script>
  <style>
    body {
      margin: 0;
      padding: 0;
    }

    #map {
      position: absolute;
      top: 0;
      right: 0;
      bottom: 0;
      left: 0;
    }
  </style>
</head>

<body>
  <div id="map"></div>
  <script>
    const key = 'YOUR_MAPTILER_API_KEY_HERE';

    const source = new ol.source.TileJSON({
      url: `https://api.maptiler.com/maps/streets-v4/tiles.json?key=${key}`,
      tileSize: 512,
      crossOrigin: 'anonymous'
    });

    const attribution = new ol.control.Attribution({
      collapsible: false,
    });

    const map = new ol.Map({
      layers: [
        new ol.layer.Tile({
          source: source
        })
      ],
      controls: ol.control.defaults.defaults({ attribution: false }).extend([attribution]),
      target: 'map',
      view: new ol.View({
        constrainResolution: true,
        center: ol.proj.fromLonLat([4.64086758, 50.9001362]),
        zoom: 18
      })
    });
    const layer = new ol.layer.Image({
      source: new ol.source.ImageStatic({
        url: './aerial_wgs84.png',
        projection: 'EPSG:4326',
        imageExtent: [4.639663696289062, 50.89935199434383, 4.642066955566406, 50.900867668253724],
      }),
    })
    map.addLayer(layer);
  </script>
</body>

</html>-
Import the new modules needed to add the new functionality.
import Map from 'ol/Map.js'; import View from 'ol/View.js'; import TileLayer from 'ol/layer/Tile.js'; import ImageLayer from 'ol/layer/Image.js'; import TileJSON from 'ol/source/TileJSON.js'; import Static from 'ol/source/ImageStatic.js'; import Attribution from 'ol/control/Attribution.js'; import { defaults as defaultControls } from 'ol/control/defaults.js'; import { fromLonLat } from 'ol/proj.js'; -
Create a static image layer using the ImageStatic source. Set the image imageExtent Lng/Lat bounds. Here you can get the example image aerial_wgs84.png
 const layer = new Image({
 source: new Static({
     url: './aerial_wgs84.png',
     projection: 'EPSG:4326',
     imageExtent: [4.639663696289062, 50.89935199434383, 4.642066955566406, 50.900867668253724],
 }),
 })
 map.addLayer(layer);
npm install --save ol
import Map from 'ol/Map.js';
import View from 'ol/View.js';
import TileLayer from 'ol/layer/Tile.js';
import ImageLayer from 'ol/layer/Image.js';
import TileJSON from 'ol/source/TileJSON.js';
import Static from 'ol/source/ImageStatic.js';
import Attribution from 'ol/control/Attribution.js';
import { defaults as defaultControls } from 'ol/control/defaults.js';
import { fromLonLat } from 'ol/proj.js';
import 'ol/ol.css';

const key = 'YOUR_MAPTILER_API_KEY_HERE';

const source = new TileJSON({
  url: `https://api.maptiler.com/maps/streets-v4/tiles.json?key=${key}`,
  tileSize: 512,
  crossOrigin: 'anonymous'
});

const attribution = new Attribution({
  collapsible: false,
});

const map = new Map({
  layers: [
    new TileLayer({
      source: source
    })
  ],
  controls: defaultControls({attribution: false}).extend([attribution]),
  target: 'map',
  view: new View({
    constrainResolution: true,
    center: fromLonLat([4.64086758, 50.9001362]),
    zoom: 18
  })
});
const layer = new ImageLayer({
  source: new Static({
    url: './aerial_wgs84.png',
    projection: 'EPSG:4326',
    imageExtent: [4.639663696289062, 50.89935199434383, 4.642066955566406, 50.900867668253724],
  }),
})
map.addLayer(layer);
<!DOCTYPE html>
<html lang="en">
<head>
  <meta charset="UTF-8">
  <meta name="robots" content="noindex">
  <title>Show Raster Image on the Map with OpenLayers | NPM example</title>
  <link rel="stylesheet" href="./style.css">
</head>
<body>
  <div id="map"></div>
  <script type="module" src="./main.js"></script>
</body>
</html>
body {
  margin: 0;
  padding: 0;
}

#map {
  position: absolute;
  top: 0;
  right: 0;
  bottom: 0;
  left: 0;
}