How to sync the map with a list of places
This tutorial shows how to sync the map with a list of places.
This tutorial will guide you through the process of creating a compilation of locations and synchronizing it with a map. The map will display markers for each of these locations. By following these steps, you will be able to generate a list of places where selecting an item from the list will automatically select the pin on the map. Similarly, when making changes to the map view, the list of places will be updated to only show the locations that are currently visible on the map. Additionally, selecting a place on the map will highlight and select the corresponding item on the list.
Download the shoe sample icon and the selected shoe sample icon, The icon is from the Maps Icons Collection. Download the shoe shops GeoJSON sample data
NPM module setup
-
Install the npm package.
npm install --save @maptiler/sdk -
Include the CSS file.
If you have a bundler that can handle CSS, you can
importthe CSSimport "@maptiler/sdk/dist/maptiler-sdk.css";or include it with a
<link />in the head of the document via the CDN<link href='https://cdn.maptiler.com/maptiler-sdk-js/v4.1.0/maptiler-sdk.css' rel='stylesheet' /> -
Include the following code in your JavaScript file (Example: app.js).
import * as maptilersdk from '@maptiler/sdk'; maptilersdk.config.apiKey = 'YOUR_MAPTILER_API_KEY_HERE'; const map = new maptilersdk.Map({ container: 'map', // container's id or the HTML element to render the map style: maptilersdk.MapStyle.STREETS, center: [-0.0921, 51.5108], // starting position [lng, lat] zoom: 11, // starting zoom }); -
Replace
YOUR_MAPTILER_API_KEY_HEREwith your own API key. Make sure to secure the key before you publish it. -
The next is up to you. You can center your map wherever you desire (modifying the
starting position) and set an appropriate zoom level (modifying thestarting zoom) to match your users’ needs. Additionally, you can change the map’s look (by updating thesource URL); choose from a range of visually appealing map styles from our extensive MapTiler standard maps, or create your own to truly differentiate your application. -
We are going to modify the structure of the web page to have two main elements: a sidebar (
aside) where we will show the list of shoe stores and the main area (main) where we will display the map.<aside class="sidebar"> <div class="sidebar-content-info"></div> </aside> <main class="main"> <div id="map"> <button class="btn hidden">Search in this area</button> </div> </main> -
Add the CSS classes to create the simple Flexbox Layout for the Sidebar + Main Content Area
body { margin: 0; padding: 0; min-height: 100vh; display: flex; } .sidebar { min-width: 450px; max-width: 450px; display: flex; } .main { flex-grow: 1; display: flex; } #map { position: relative; width: 100%; height: 100%; } .btn { display: block; position: relative; margin: 8px auto; height: 40px; padding: 10px; border: none; border-radius: 3px; font-size: 12px; text-align: center; color: #fff; background:#3174FF; z-index: 2; } .hidden { display: none; } .sidebar-content-info { display: flex; flex-direction: column; font-size: 1rem; width: 100%; word-break: break-word; overflow-y: auto; max-height: 100vh; } -
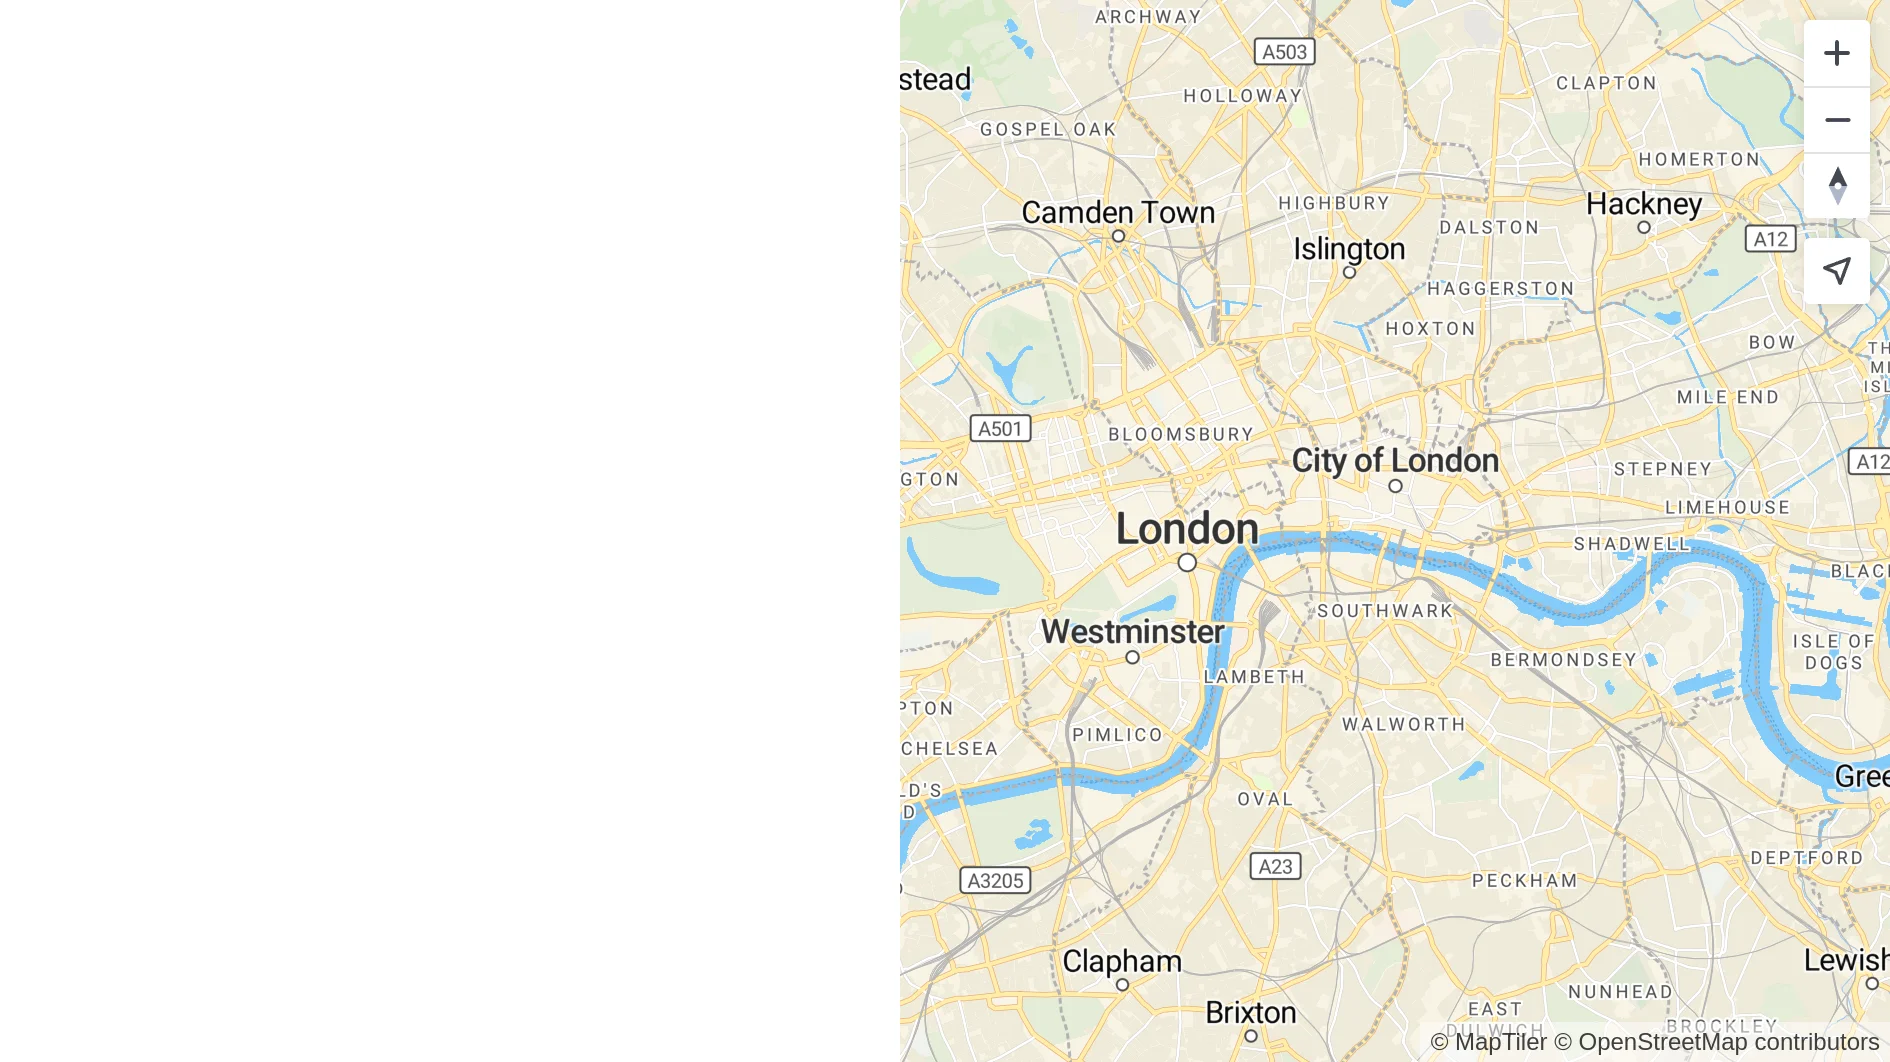
Reload the page. Now you should see the app in your browser.
-
Add an event handler for the map load event. You will add code to create a GeoJSON source and a vector layer in this handler. We will also add other map event handlers.
map.on('load', async function() { //your code here //end load function code }); -
Add a custom images to the map. You can use any image or download the shoe image and the selected shoe image we used in the tutorial. In the example, these images are in the same folder as the index.html file
//your code here const image = await map.loadImage('./shoes.png'); map.addImage('pinShoe', image.data); const imageSelected = await map.loadImage('./shoes_selected.png'); map.addImage('pinShoeSelected', imageSelected.data); //end load function code -
Create GeoJSON source. The following snippet creates GeoJSON source hosted on MapTiler (check out the How to Upload GeoJSON to MapTiler tutorial). Publish the dataset and copy the link to the GeoJSON. Download the shoe shop GeoJSON sample data. In this example we will add a random image (in the photo property) to each of the map elements.
const shops = await maptilersdk.data.get('YOUR_MAPTILER_DATASET_ID_HERE'); function randomIntFromInterval(min = 1, max = 5) { // min and max included return Math.floor(Math.random() * (max - min + 1) + min); } //add a random image to the GeoJSON features shops.features.forEach(item => { item.properties.photo = `./shoe_shop_${randomIntFromInterval()}.webp`; }) map.addSource('shops', { type: 'geojson', generateId: true, data: shops }); //end load function code -
Add the vector layer. In this example, we will use the shoe image to display a point layer using a custom PNG icon as a pin.
map.addLayer({ 'id': 'points', 'type': 'symbol', 'source': 'shops', 'layout': { 'icon-image': 'pinShoe', }, 'paint': {} }); //end load function code -
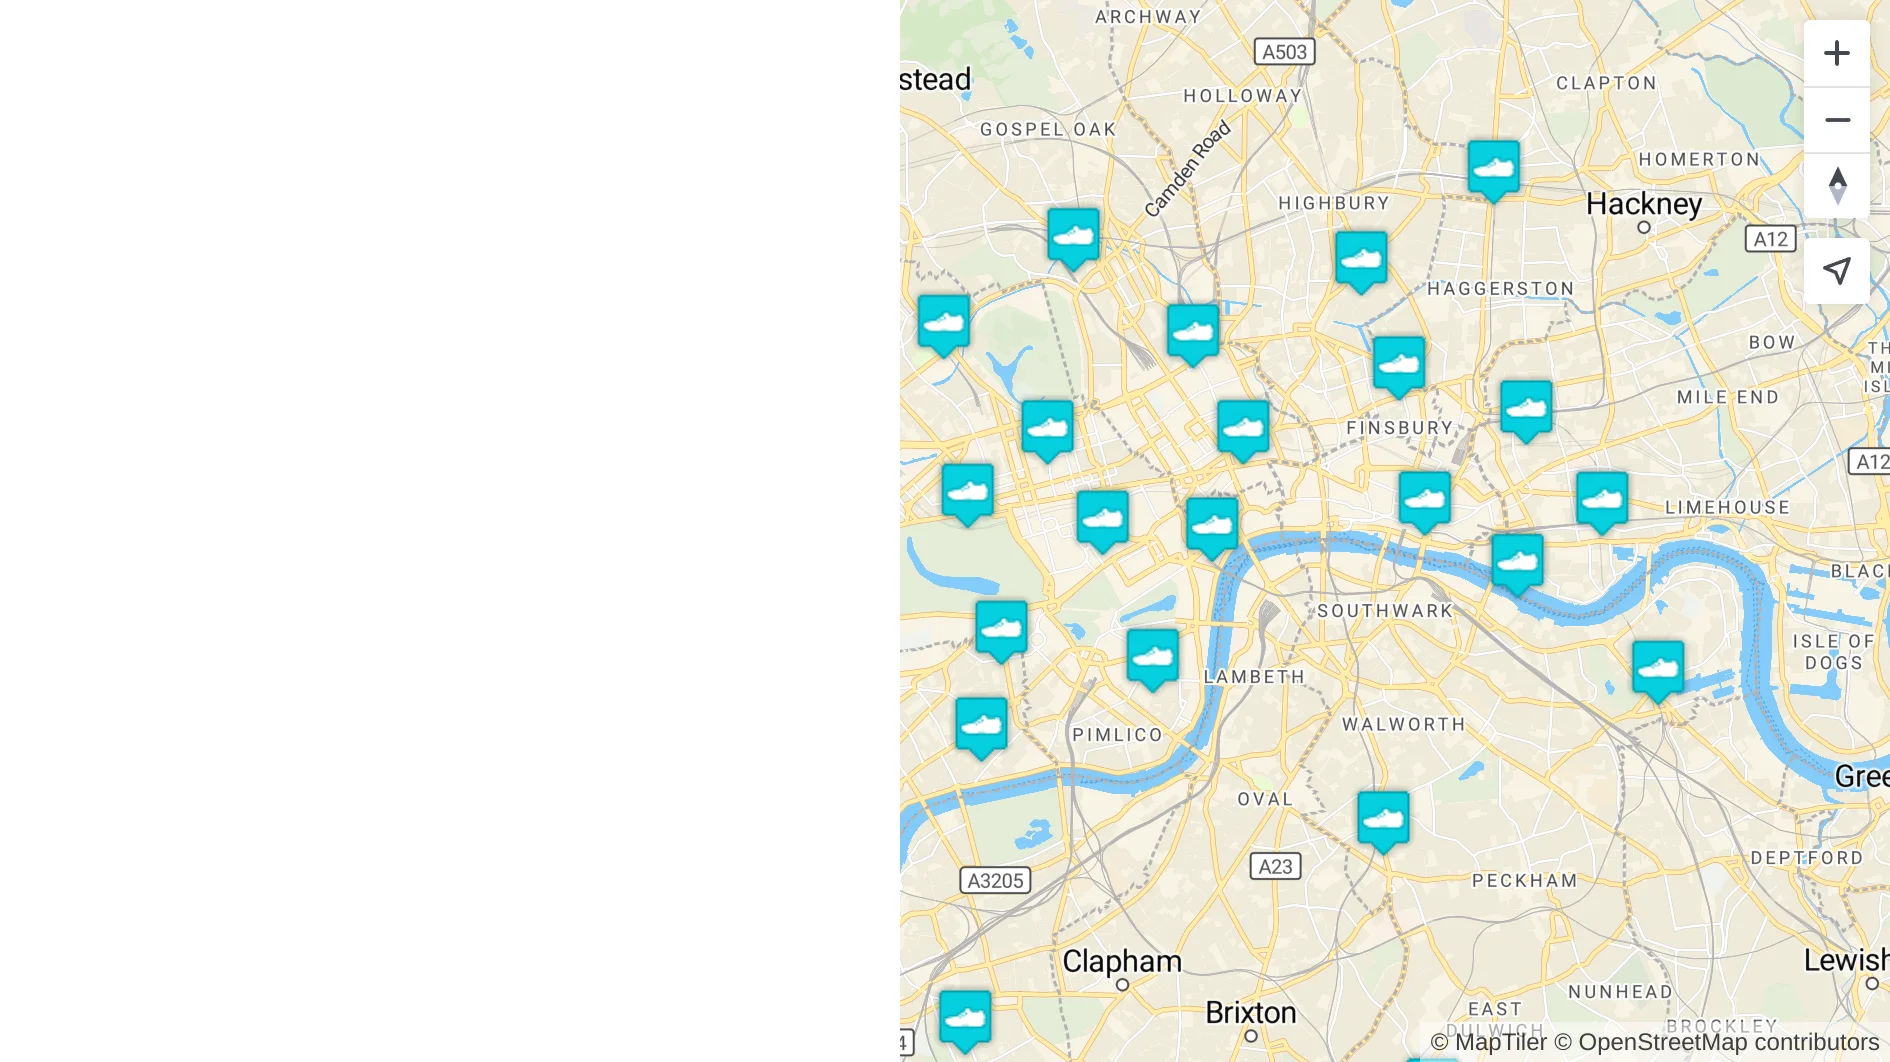
Now you should see the map with pins.
-
Change the cursor to a pointer when the mouse is over the points layer.
map.on('mouseenter', 'points', (e) => { map.getCanvas().style.cursor = 'pointer'; }); map.on('mouseleave', 'points', (e) => { map.getCanvas().style.cursor = ''; }); //end load function code -
Create the list with the elements that are displayed on the map.
map.on('render', createListFromSource); //end load function code -
Update the list when the map view is changed. With this event, we will have the map view and the list synchronized. Every time the view is updated (zoomed, panned) the “Search in this area” button is displayed. This will allow us to refresh the list and only show the elements that appear on the map.
map.on('moveend', showRefreshListButton); //end load function code -
Get the point layer elements when the user clicks on the map. With the
clickevent, the user will be able to select an element on the map. This will allow us to select the same item in the list.map.on('click', getPoint); //end load function code -
We are done with the functions that are executed when the map is loaded. Now we will create the functions outside of the
loadevent handler.//end load function code }); function createListFromSource() { } function showRefreshListButton() { } function getPoint(e) { } -
Get the elements that are visible in the map view.
 function createListFromSource() {
   const features = getRenderedFeatures();
   if (features.length) {
     //stop listening to the map render event
     map.off('render', createListFromSource);
     updateList();
   }
 }

 function getRenderedFeatures(point) {
   //if the point is null, it is searched within the bounding box of the map view
   const features = map.queryRenderedFeatures(point, {
     layers: ['points']
   });
   return features;
 }
</code></pre>
-
Select a map element when the user clicks on it.
 function getPoint(e) {
   const features = getRenderedFeatures(e.point);
   if (features.length) {
     const element = features[0];
     selectedItem = element.id;
     map.setLayoutProperty('points', 'icon-image',
       [
         'match',
         ['id'], // get the feature id (make sure your data has an id set or use generateIds for GeoJSON sources
         element.id, 'pinShoeSelected', //image when id is the clicked feature id
         'pinShoe' // default
       ]
     );
     selectMapToList(element);
   } else {
     cleanSelection();
   }
 }

 function cleanSelection() {

 }

 function selectMapToList(element) {

 }
</code></pre>
-
Create a list of places.
let selectedItem; function updateList() { const features = getRenderedFeatures(); const listItems = features.map(item => { return `<div class='list-item ${item.id === selectedItem ? "selected" : ""}' data-id="${item.id}" data-lnglat="${item.geometry.coordinates.join()}"> ${createListItemContent(item)} </div>`; }); const listContainer = document.querySelector('.sidebar-content-info'); listContainer.scrollTop = 0; listContainer.innerHTML = listItems.join(''); } function createListItemContent(item) { const html = [`<img src="${item.properties.photo}" alt="shoe shop">`]; if (item.properties.name) { html.push(`<h2>${item.properties.name}</h2>`); } if (item.properties.operator) { html.push(`<h4>${item.properties.operator}</h4>`); } if (item.properties["addr:street"]) { html.push(`<div class="addr">${item.properties["addr:street"]}, ${item.properties["addr:housenumber"]}</div>`); } if (item.properties.opening_hours) { html.push(`<h5>Opening hours</h5>`); item.properties.opening_hours.split(",").forEach(element => { html.push(`<div>${element.trim()}</div>`); }); } if (item.properties.phone) { html.push(`<div><a href="tel:${item.properties.phone}" target="_blank" rel="noopener noreferrer">${item.properties.phone}</a></div>`); } if (item.properties.website) { html.push(`<div><a href="${item.properties.website}" target="_blank" rel="noopener noreferrer">${item.properties.website}</a></div>`); } return html.join(''); } -
Create the list style. Add the list style to your stylesheet.
.list-item { border-bottom: 1px solid #333333; padding: 16px; } .list-item:hover { cursor: pointer; background-color: #E4ECFF; } .list-item h2 { margin: 0.23em 0; } .list-item.selected { background-color: #05D0DF; } .list-item img { width: 100%; } -
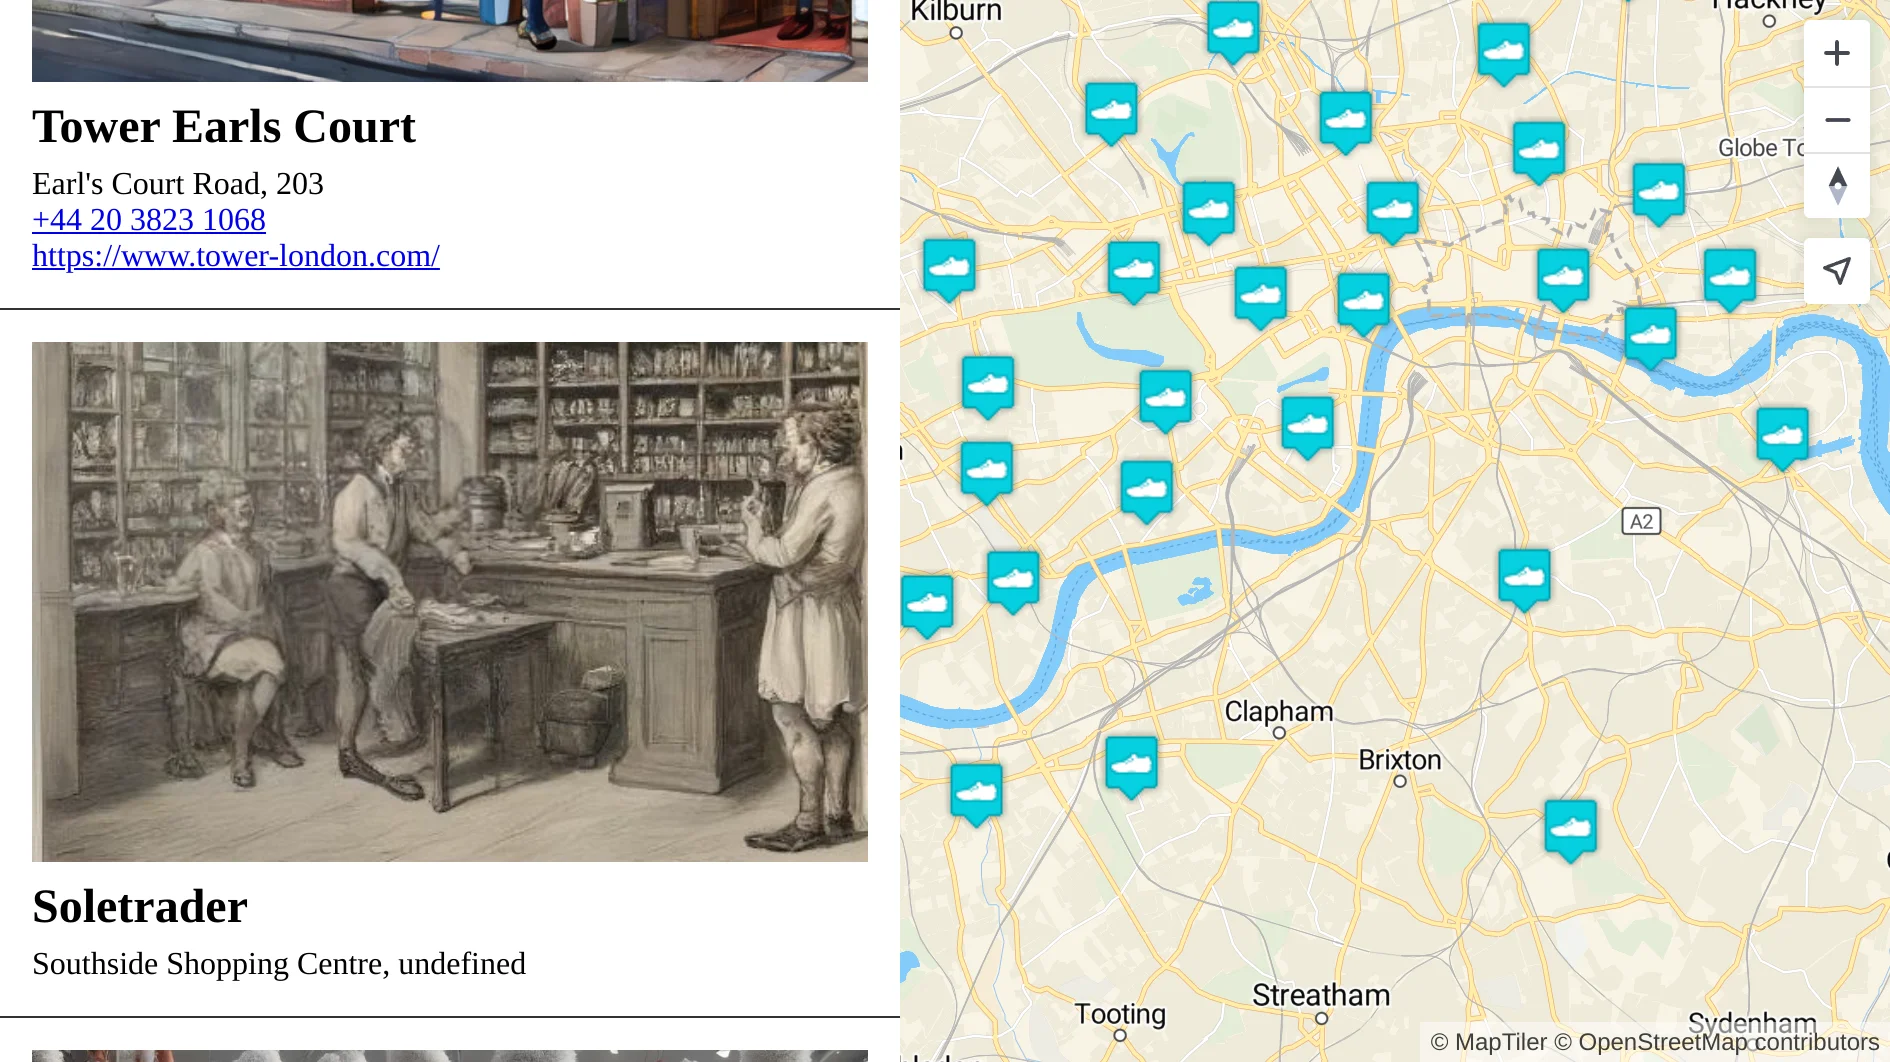
With everything done up until now, you should be able to see your map and the list of places in your browser.
-
Next, we are going to add some events to link the list with the map. These events will ensure that when a list item is clicked on, the corresponding marker on the map is selected and centered on the map view.
let listContainer = document.querySelector('.sidebar-content-info'); listContainer.addEventListener('click', (e) => { cleanSelection(); const li = e.target.closest('.list-item'); li.classList.toggle('selected'); if (li.classList.contains('selected')) { selectedItem = parseInt(li.dataset.id); selectListToMap(li); } }); function selectListToMap(item) { map.setLayoutProperty('points', 'icon-image', [ 'match', ['id'], // get the feature id (make sure your data has an id set or use generateIds for GeoJSON sources parseInt(item.dataset.id), 'pinShoeSelected', //image when id is the clicked feature id 'pinShoe' // default ] ); map.setCenter(item.dataset.lnglat.split(',')); } -
We have already made it so that selecting an item from the list selects it on the map. Now we will do the other way, when selecting an element on the map it is selected in the list.
function selectMapToList(element) { cleanListSelection(); const listSelected = document.querySelector(`.list-item[data-id="${element.id}"]`); listSelected.classList.add('selected'); listSelected.scrollIntoView({behavior: 'smooth', block: 'nearest'}); } -
At this point we already have the list linked and synchronized with the map. Now we will create some functions to toggle the selected elements so that we have only one element selected in both the list and the map.
function cleanSelection() { selectedItem = null; map.setLayoutProperty('points', 'icon-image', 'pinShoe'); cleanListSelection(); } function cleanListSelection() { const listSelected = document.querySelector(`.list-item.selected`); if (listSelected) { listSelected.classList.remove('selected'); } } -
Finally, we need to show the “Search in this area” button when the map view is updated and update the list when the user clicks the button.
function showRefreshListButton() { document.querySelector('.btn').classList.remove('hidden'); } document.querySelector('.btn').addEventListener('click', (e) => { e.target.classList.add('hidden'); cleanSelection(); updateList(); }); -
Congratulations! You have your map with place markers synchronized with the list of places.


